Ceramic tiles are a popular material for the shower, and kitchen due to their outstanding water resistance, and durability, and besides all, some easy steps are required for tiles installation. Preparation is the key to installing floor tiles successfully. The actual process of tiling a floor with mortar and grout is quite simple if you have a solid base, and useful design, and all the necessary tools and materials. The tile design will determine the number of tiles needed. A grid arrangement is simple to develop and execute since fewer tiles must be cut. 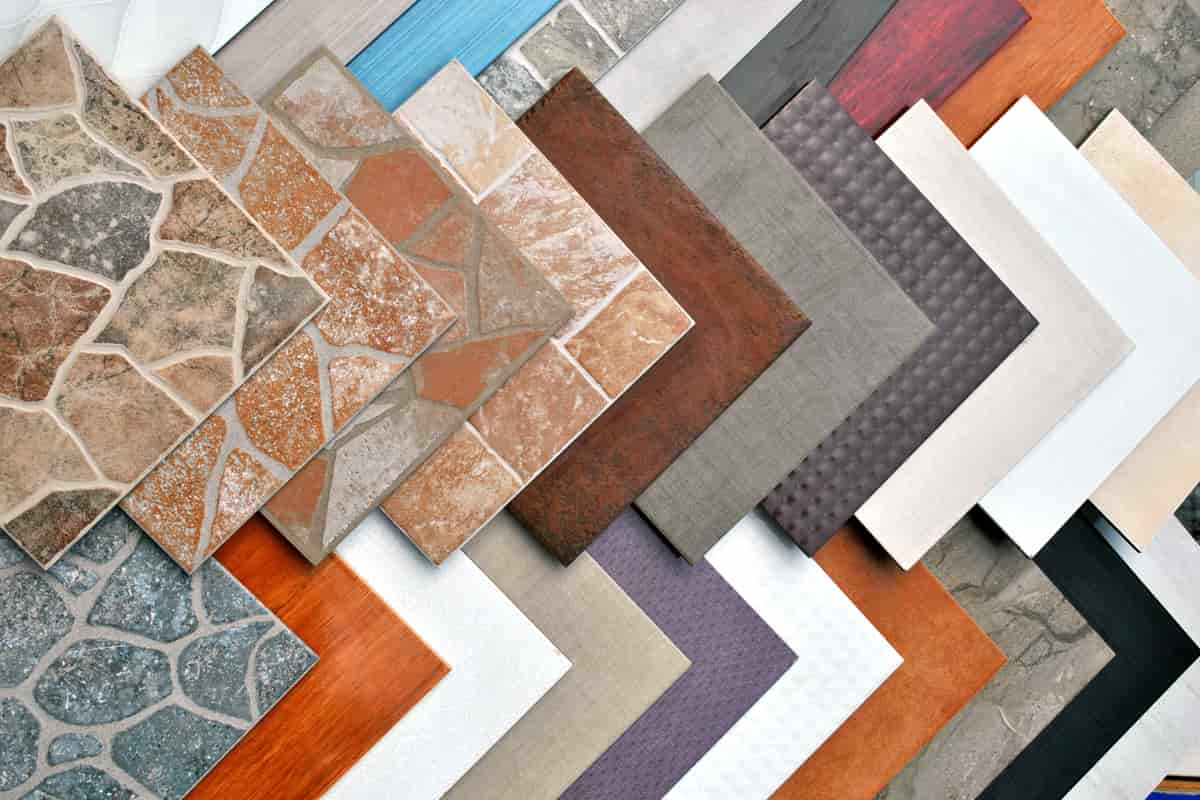 Although diagonal tiles might visually enlarge smaller spaces, cutting them on the diagonal may be challenging. Add 15 percent to the measured room space to account for waste. Alternately, use an online tile calculator to obtain a precise sum and experiment with tile layouts. Before installing tiles, apply a roll-on waterproofing chemical for further waterproofing measures. Ceramic tile is fragile on its own, but it gains sturdiness when adhered to a solid, rigid, and ridge-free surface. Ceramic tile may be installed directly over a concrete slab, while cement board is recommended for wood-framed flooring. Place the cement board panels on a layer of thin set mortar and attach them to the flooring by inserting screws every 8 inches along the panels’ perimeters. Apply fiberglass seam tape to the seams, then fill them with thin-set and let them cure. Cement board, also known as a cementitious backer unit (CBU) and offered under different brand names, is a suitable substrate for installing ceramic tile.
  tile installation steps how to install ceramic tile on wall ceramic tile installation cost how to install ceramic tile in a shower how to install ceramic tile on wall in kitchen floor tiles installation steps In this article, we are going to guide you with floor tiles installation with some easy steps. Find the central point of each wall by measuring their lengths. Draw a chalk line between each of the two opposing walls to create a cross pattern.
  Without using cement or grout, line each arm of the cross with tiles and tile spacers. The objective is to avoid having tiles sliced into small pieces against a wall, which might be distracting. If necessary, this cross-shaped assembly can be moved in any direction so that each tile bordering a wall is as close to a half tile or larger as possible. When picking up the tiles, stack them neatly so you can remember where they belong. Using the margin trowel or the flat side of the notched trowel, place a small amount of thin set mortar on the cement board. Holding the flat side of your notched tile trowel at a 45-degree angle, spread the mortar across the surface until it extends beyond the perimeter of a tile. Change to the notched side of the same trowel and comb the thin-set by pulling the trowel in straight lines while holding it at a 45-degree angle to the cement board. The notches on the trowel automatically regulate the amount of thin set applied to the surface.
  Gently press the tile into the wet thin set, rotating it back and forth to apply further pressure. The objective is to fill any voids and smooth out any ridges in the mortar. Occasionally remove a tile to achieve total coverage. To guarantee equal spacing, use tile spacers in the corners as you proceed from one tile to the next. Allow a 1/4-inch expansion space between walls, cabinets, and other large room furnishings. These areas should not be filled with mortar. Place the bubble level over multiple tiles to ensure both levelness and lippage between tiles. Tap the tiles lightly with the rubber mallet to level them.
how to install ceramic tile on wall
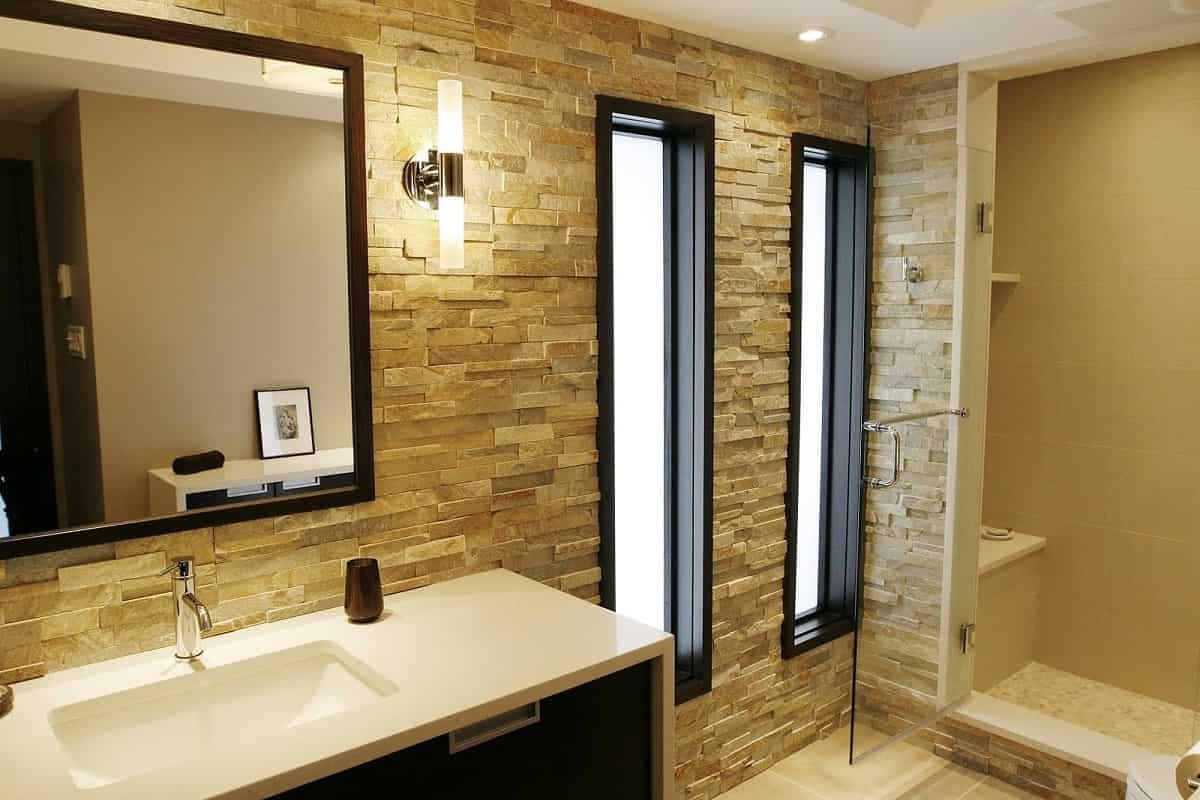
Ceramic tile is a popular material to install on wall due to its durability and resistance to moisture and stains. How the same qualities make it an excellent choice for walls, especially in kitchens and baths? Here are a few considerations to bear in mind to ensure a seamless installation of wall tiles. Ceramic wall tile installation can be tough if you lack experience with the method. Even if you have experience laying floor tile, installing wall tile requires additional effort and skill. Continue reading for instructions. The materials and equipment utilized in this demonstration project are now standard for nearly all ceramic, porcelain, and natural stone tile installations. It was originally common for ceramic wall tiles to be laid on standard drywall or blue board drywall, but today practically all professional tile installers use cement board as the underlayment for floor and wall tiles.  The installation of wall tiles for shower or tub surround walls is comparable to the installation of conventional walls, with the exception of the requirement for a completely waterproof substrate. You can achieve this by applying a layer of sheet plastic, brushing a waterproof membrane over the cement board base, or using a cement backer board with a built-in waterproof membrane. Before beginning, amass all the necessary materials and equipment. Included are backer board, thin set mortar adhesive, grout, tile spacers, notched trowel, bucket, sponge, level, tape measure, pencil, utility knife, wet saw or tile cutter, hammer or rubber mallet, and a wood block. Because tiling can be messy, it is essential to safeguard floors, countertops, and fixtures from adhesive and grout spill. Purchase a thick rosin builder’s tape from a home improvement superstore or a paint store. Cover the countertop and floor with paper, then secure it with painter’s tape. Create slits in the paper where the faucets and other fixtures are located. Use painter’s tape to protect the exposed surfaces of the fixtures.
ceramic tile installation cost
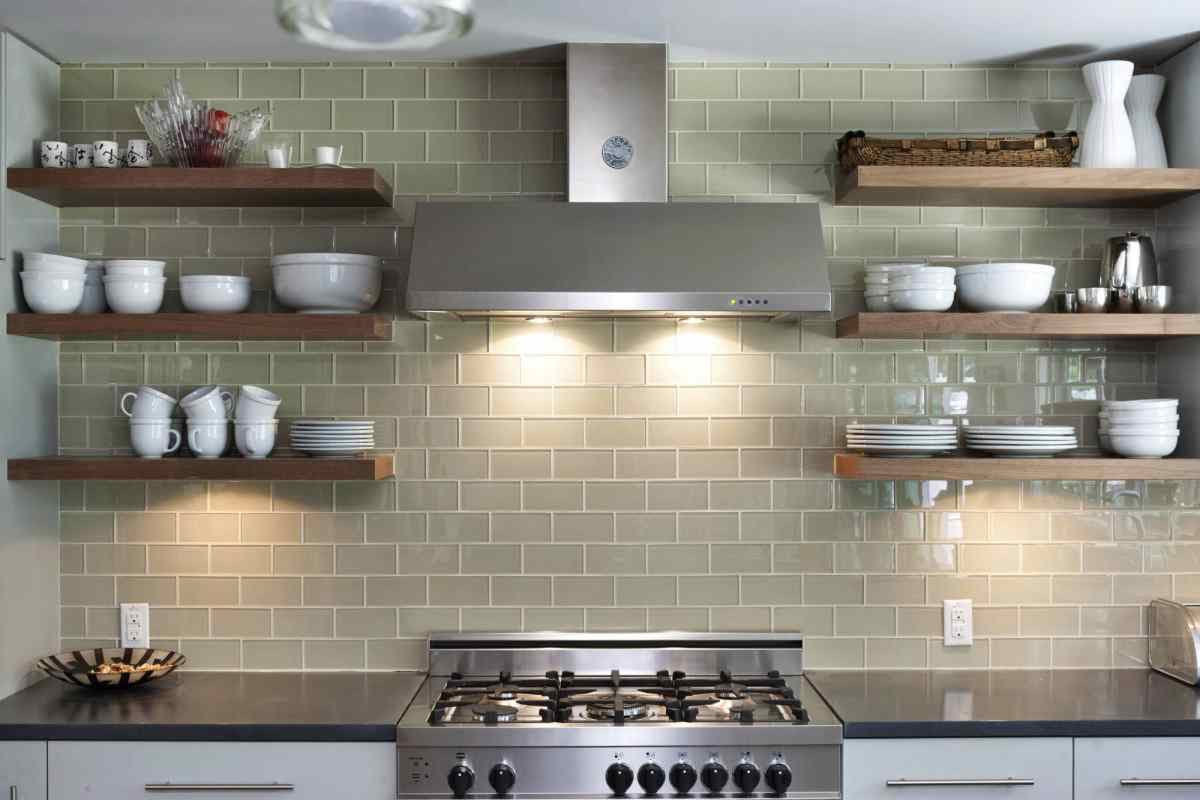
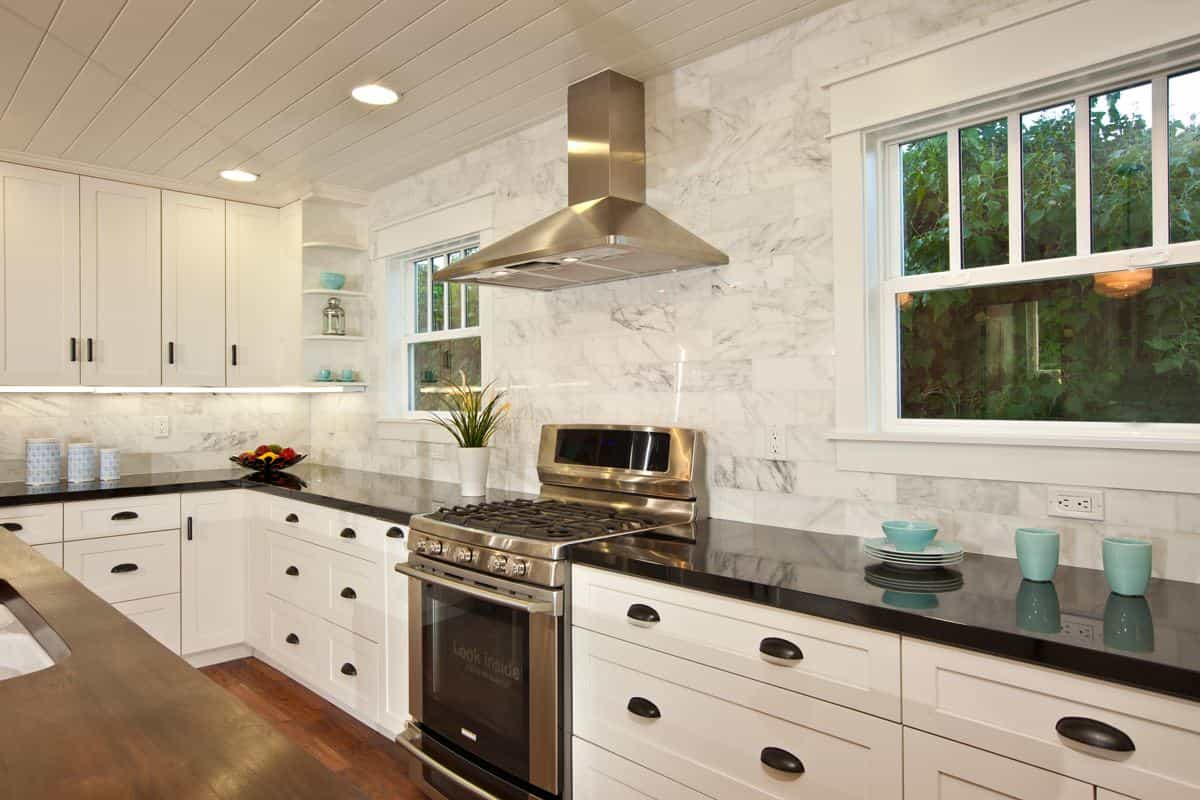
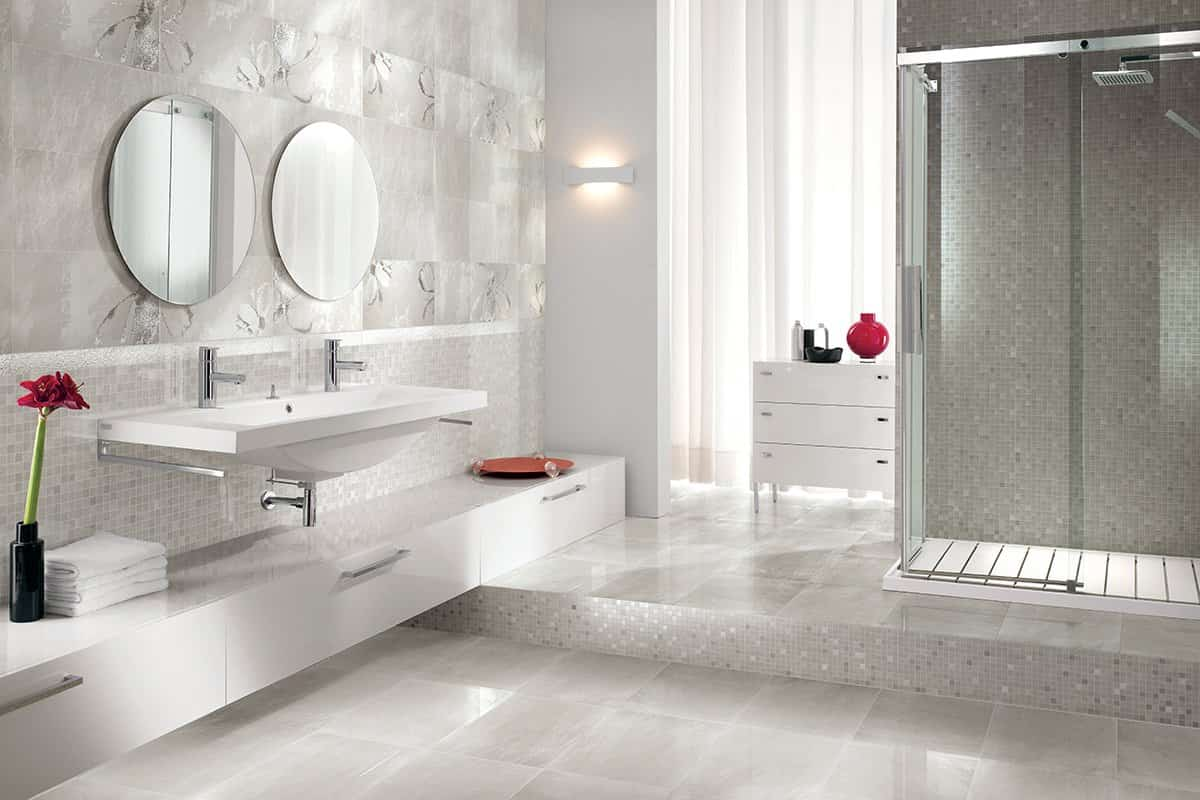
The cost of ceramic tile installation varies depending on the location and type of installing them. Here are three locations where tile is effective. Typically, backsplashes are 30 square feet in size. Included in the materials are the following: We recommend a high-performance grout that is resistant to stains and does not need to be sealed annually due to the occasional splash. Many homeowners choose to do this themselves over the weekend to save money. The cost of installation will increase as the size and/or complexity of the backsplash increases. In both cases, they will increase by a few hundred dollars if you opt for more decorative tiles. The next most common application for ceramic or porcelain tile is in bathrooms. Because ceramic tile is waterproof, it is an excellent option for bathroom floors and walls. According to numerous real estate agents, remodeling a bathroom is generally a wise investment. The format of 12 x 24 tiles is presently the most popular for bathroom flooring. 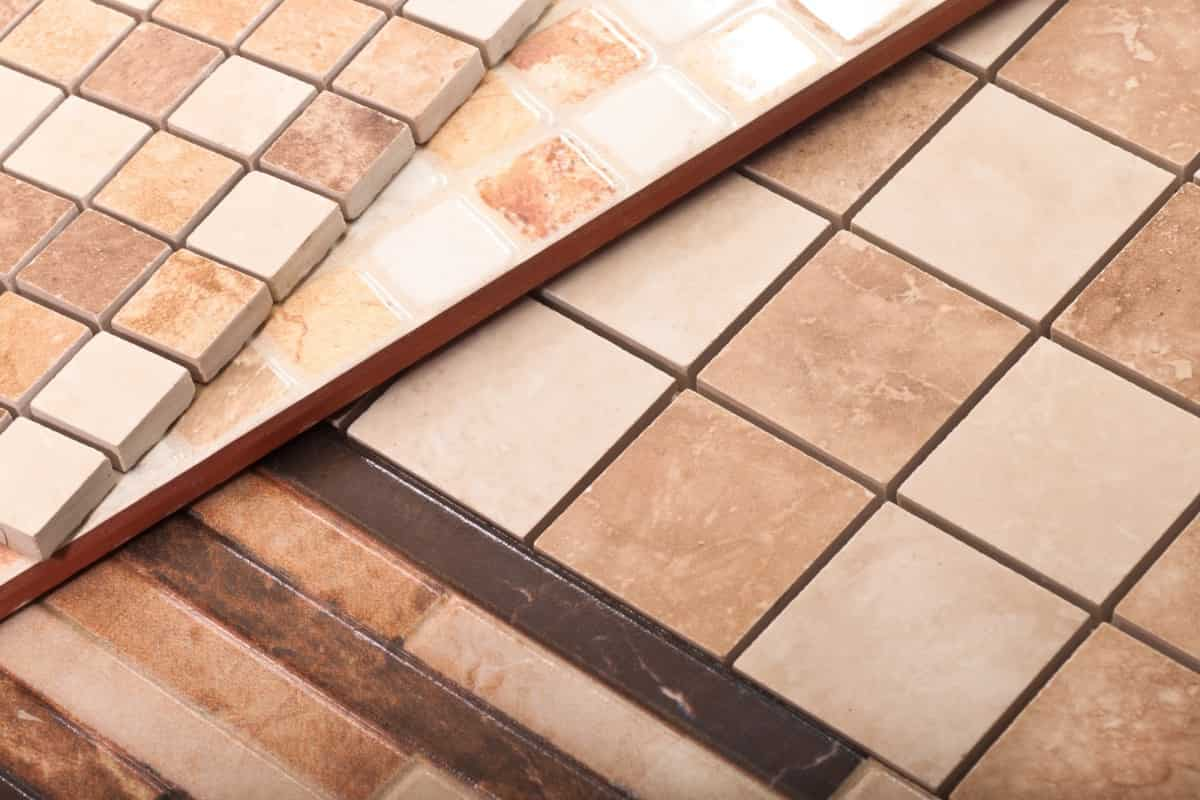 Homeowners prefer as little grout as possible, and by using the larger format as opposed to the older 6 x 6 or 12 x 12 format, 75 percent less grout will be required. To give the kitchen above a contemporary coastal appearance, we paired a 12 x 24 porcelain with a stained concrete impression with traditional white cabinetry and white quartz countertops. Clearly, the cost of tile varies based on the nature of the project. Keep in mind that setting materials, grout, sealants, cement board, levelers, and spacers will incur additional costs. Other labor-related expenses that may be necessary include: Existing floor coverings are being removed. Balance of the feet Other substrate preparation chores to ensure a quality installation
how to install ceramic tile in a shower
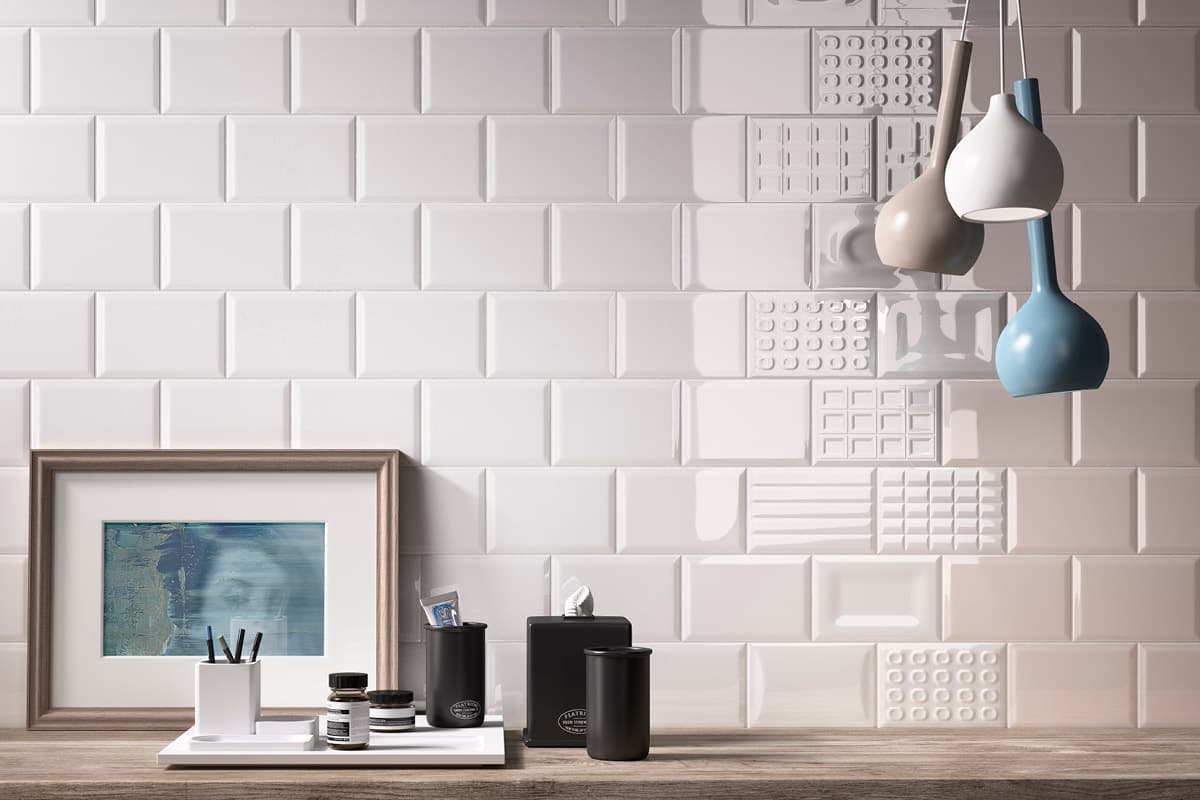
A newly tiled shower wall illuminates a bathroom. You will learn how to install ceramic tile in a shower in this part. Remove any old tiles or fiberglass from the shower wall. This is a dusty job, so cover the entrances with plastic, wear a mask certified for dust, cover the floor with a drop cloth, and provide adequate ventilation. In addition, use moving blankets to protect the flooring and tub from harm caused by falling tile fragments. Utilize a hammer and chisel and work your way over the tile to remove it. Use a reciprocating saw to cut any screws. It is occasionally feasible to remove the old tile without harming the backer board using a hammer and chisel, although this is usually challenging. Prepare to replace the substrate. Determine the amount of tile required. Determine the width times the height of each wall area. Add 10 percent to the total wall area to accommodate for errors or future repairs. Look for cartons with the same dye lot number while working with ceramic tile. 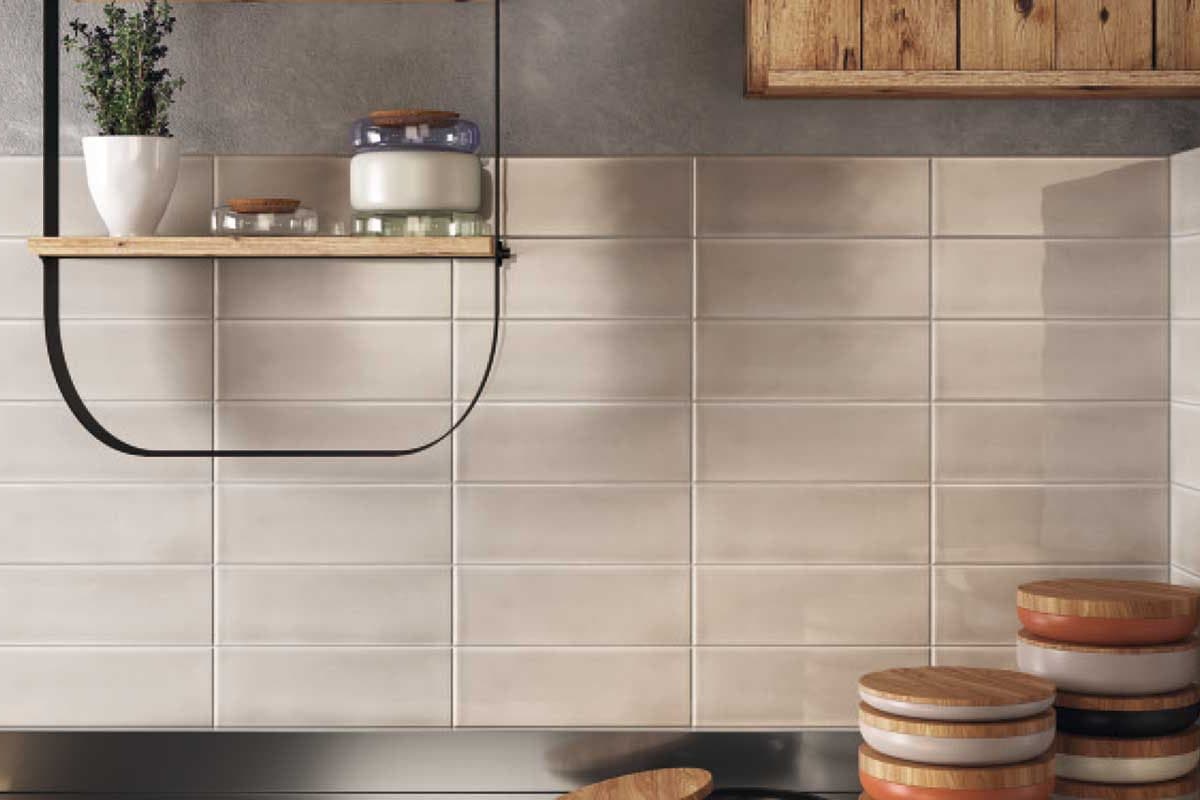 If you are unable to obtain tiles with matching box numbers, combine tiles from other boxes to conceal color variances. Mix thin-set mortar according to the instructions on the packaging. The optimal peanut butter consistency is creamy. Working in tiny portions, the thin-set is applied. Consult the manufacturer if you are uncertain which trowel to use. After around 10 minutes, wipe any excess using a damp sponge, taking care not to dislodge the grout from the joints. When the grout is completely dry, use a grout haze remover to clean the tile surfaces. It may require numerous treatments to eliminate persistent haze. Our ceramic tile experts can lead you through the best tiling instructions, contact us for more information.
